Nuke Callouts
Nuke (de_nuke) is a classic Counter-Strike bomb defusal map set around a nuclear power plant. Known for its distinctive vertical layout featuring upper and lower bombsites, it challenges players with complex rotations, sound-based gameplay, and strategic use of utility. Mastery of positioning, timing, and coordination is key to success on this high-stakes map.

Nuke Overview
Nuke is a highly tactical, vertically layered map where information, rotations, and utility usage are critical. Unlike most maps, both bombsites are stacked on top of each other, making fast rotations and fake pressure extremely effective. Success on Nuke depends heavily on coordination, map control, and disciplined positioning.
This overview pairs best with learning the main callouts, understanding common CT and T setups, and practicing effective utility usage.
Characteristics
Balance
CT-sided with strong defensive structure
Win Conditions
Information control, rotations, and utility usage
Vertical Play
Core mechanic of the map
Rotation Time
Very fast through vents and ramp
Key Areas
A Site
Upper bombsite with multiple entry points
B Site
Lower bombsite accessed through Ramp and Vents
Outside
Large open area controlling rotations and map flow
Ramp
Main access route to B Site
Heaven
Elevated position overlooking A Site
Vents
Fast vertical rotation between bombsites
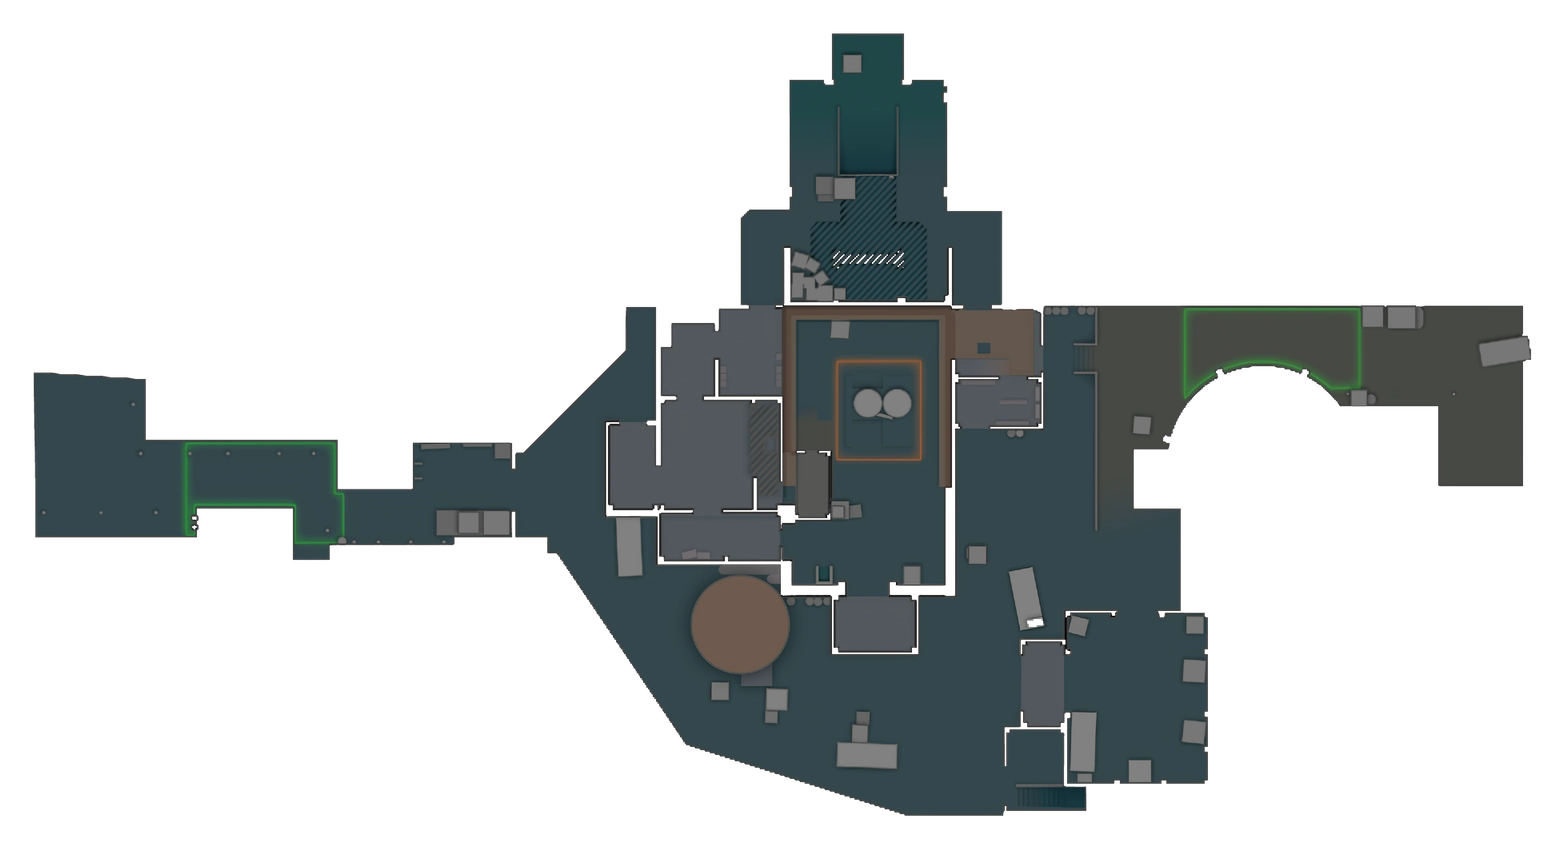
Nuke Main Callouts
Learn the most important Nuke callouts for A Site, Mid, and B Site to improve communication, rotations, and round execution.
A Site
- VentSmall vent in A Site leading down to A Site.
- Back VentSneaky back corner in A Site.
- SqueakyDoor providing quick access from Lobby to A Site or down Vents.
- TetrisCover near A Site for defensive or offensive plays.
- HutCorner connecting Lobby to A Site giving defensive cover.
- MustangSneaky corner overlooking A Site.
- BlueBox providing cover in A Site.
- RaftersElevated position overlooking A Site.
- HeavenElevated platform overlooking A Site and Outside.
B Site
- DarkCorner for sneaky plays near B Site.
- SiloPillar providing cover inside the B Site.
- BoxCommon corner with good cover for fighting enemies.
- WindowOverlook point near B Site for peeks.
Outside
- T OuterOpen approach from T Spawn toward Outside.
- SiloRaised platform overlooking Outside.
- T RedLarge box that provides cover for Ts pushing into Outside.
- OutsideMain area connecting T side to A and B Sites.
- CT RedLarge box that provides cover for CTs defending Outside.
- GarageCovered area for CTs to defend Outside.
- CT BoxDefensive position for CTs near Outside.
- MainMain entrance into the building from Outside.
- BridgeElevated position overlooking A Site.
Other
- T SpawnStarting area for Terrorists to plan rotations or executes.
- SecretHidden staircase rotating between Outside and B Site.
- CT SpawnStarting area for CTs to rotate to A or B Site.
- LobbyMost common entrance point for Ts to enter the building.
- RadioRoom used by Ts to push into the back of the map.
- TrophyRoom used by Ts to push into the back of the map.
- BoostJump-up position for gaining an angle on enemies walking from Trophy.
- Big BoxCommon angle for holding enemies walking in from Trophy.
- RampSloped entry providing access to B Site.
- HeadshotBox providing cover for holding down Ramp.
- LockersStrong angle for defending Outside.
- HeadshotBox providing cover for holding down Ramp.
- RampSloped entry into A Site from Outside.
- Bottom RampSloped entry providing access to B Site.
- DeconRoom with a squeaky door entering B Site.
- Back VentsDownstairs hallway connecting Vents to B Site.
- VentsSmall corridor connecting to Outside.
- Double DoorsDouble squeaky doors that lead into B Site.
- TunnelsHidden hallway connecting Secret to B Site.
- SecretHidden staircase rotating between Outside and B Site.
Nuke CT Strategy
Common Counter-Terrorist setups and positioning principles in Nuke to help you hold sites and win rounds.
Standard 2 A, 1 Outside, 2 B
Two players defend A Site, one controls Outside, and two defend B Site through Ramp and lower positions. This setup provides strong default coverage and flexible rotations.
Pros
- Strong Map Coverage – All major routes are contested from the start of the round.
- Fast Rotations – Vents allow quick movement between bombsites.
Cons
- Outside Pressure – The Outside player can be overwhelmed by utility.
- Utility Dependent – Requires smokes and molotovs to maintain control.
Heavy Outside Control
Two players contest Outside aggressively while three focus on interior defense. This limits T-side rotations and late-round options.
Pros
- Denies Rotations – Strong Outside control prevents fast lower splits.
- Information Advantage – Early contact reveals T-side intentions.
Cons
- Weaker A Holds – A Site may be lighter on defenders early.
- Risky Early Fights – Aggression Outside can be punished by utility.
Ramp-Focused B Defense
CTs prioritize Ramp control with layered utility while maintaining minimal presence on A Site.
Pros
- Strong B Hold – Dedicated Ramp defense delays lower executes.
- Clear Fight Zones – Ramp engagements are predictable and controlled.
Cons
- A Site Vulnerable – Fast A executes can overwhelm limited defenders.
- Rotation Commitment – Misreads can lead to difficult retakes.
Positioning & Rotations
Use crossfires between Hut, Heaven, and Main. Utility is critical for delaying fast executes.
Ramp control is essential. Molotovs and smokes can delay pushes long enough for rotations.
Information-heavy position that controls rotations between bombsites.
Strong anchor position providing overwatch and rotation flexibility.
Retakes rely on controlling choke points and using utility to isolate angles. B retakes are difficult without Ramp or Vent control.
Nuke T Strategy
Common Terrorist setups strategies for attacking Nuke sites and starting powerful pushes against defending players.
Outside Control → Secret
Ts use smokes to cross Outside and gain access to Secret, enabling fast lower-site pressure.
Pros
- Forces Rotations – CTs are pulled away from bombsites early.
- Lower Site Access – Creates strong options for B executes or fakes.
Cons
- Smoke Execution Required – Poor smokes can completely shut down this strategy.
- Delayed Commitment – Late-round pressure can be anticipated.
Fast A Site Execute
A quick upper-site hit through Hut and Main designed to overwhelm defenders before rotations arrive.
Pros
- Speed Advantage – Fast pacing can catch CTs off guard.
- Simple Entry Paths – Clear routes allow decisive entries.
Cons
- Utility Resistance – Well-placed molotovs can slow the execute.
- Difficult Post-Plant – Holding the site against Heaven pressure is challenging.
Outside Fake → B Split
Ts show presence Outside to force rotations before splitting into B through Ramp and Vents.
Pros
- Manipulates Rotations – CTs often over-rotate to Outside pressure.
- Multiple Entry Angles – Splits make defending B difficult.
Cons
- Timing Sensitive – Poor coordination can break the split.
- Vent Control Required – Losing Vents limits split effectiveness.
Positioning & Rotations
Primary control area for rotations and lower-site access.
Fast access point for A Site pressure.
Key route for B Site control and splits.
Nuke Utility Usage
Key smoke and molotov grenade lineup spots on Nuke to control vision, block angles, and support your team.
Heaven / Rafters Smoke
SmokeEssential for A site takes, blocks elevated defenders and prevents early picks.
CT Red Smoke
SmokeBlocks rotations from CT, securing site control for executing Ts.
B Headshot Box Smoke
SmokeBlocks common B site defensive sightlines from elevated positions.
Toxic / Vent Molotov
MolotovDenies defenders from vent angles, securing safer B site entry.
Back Site Molotov
MolotovClears deep B positions, allowing for safe plant and post-plant control.