Anubis Callouts
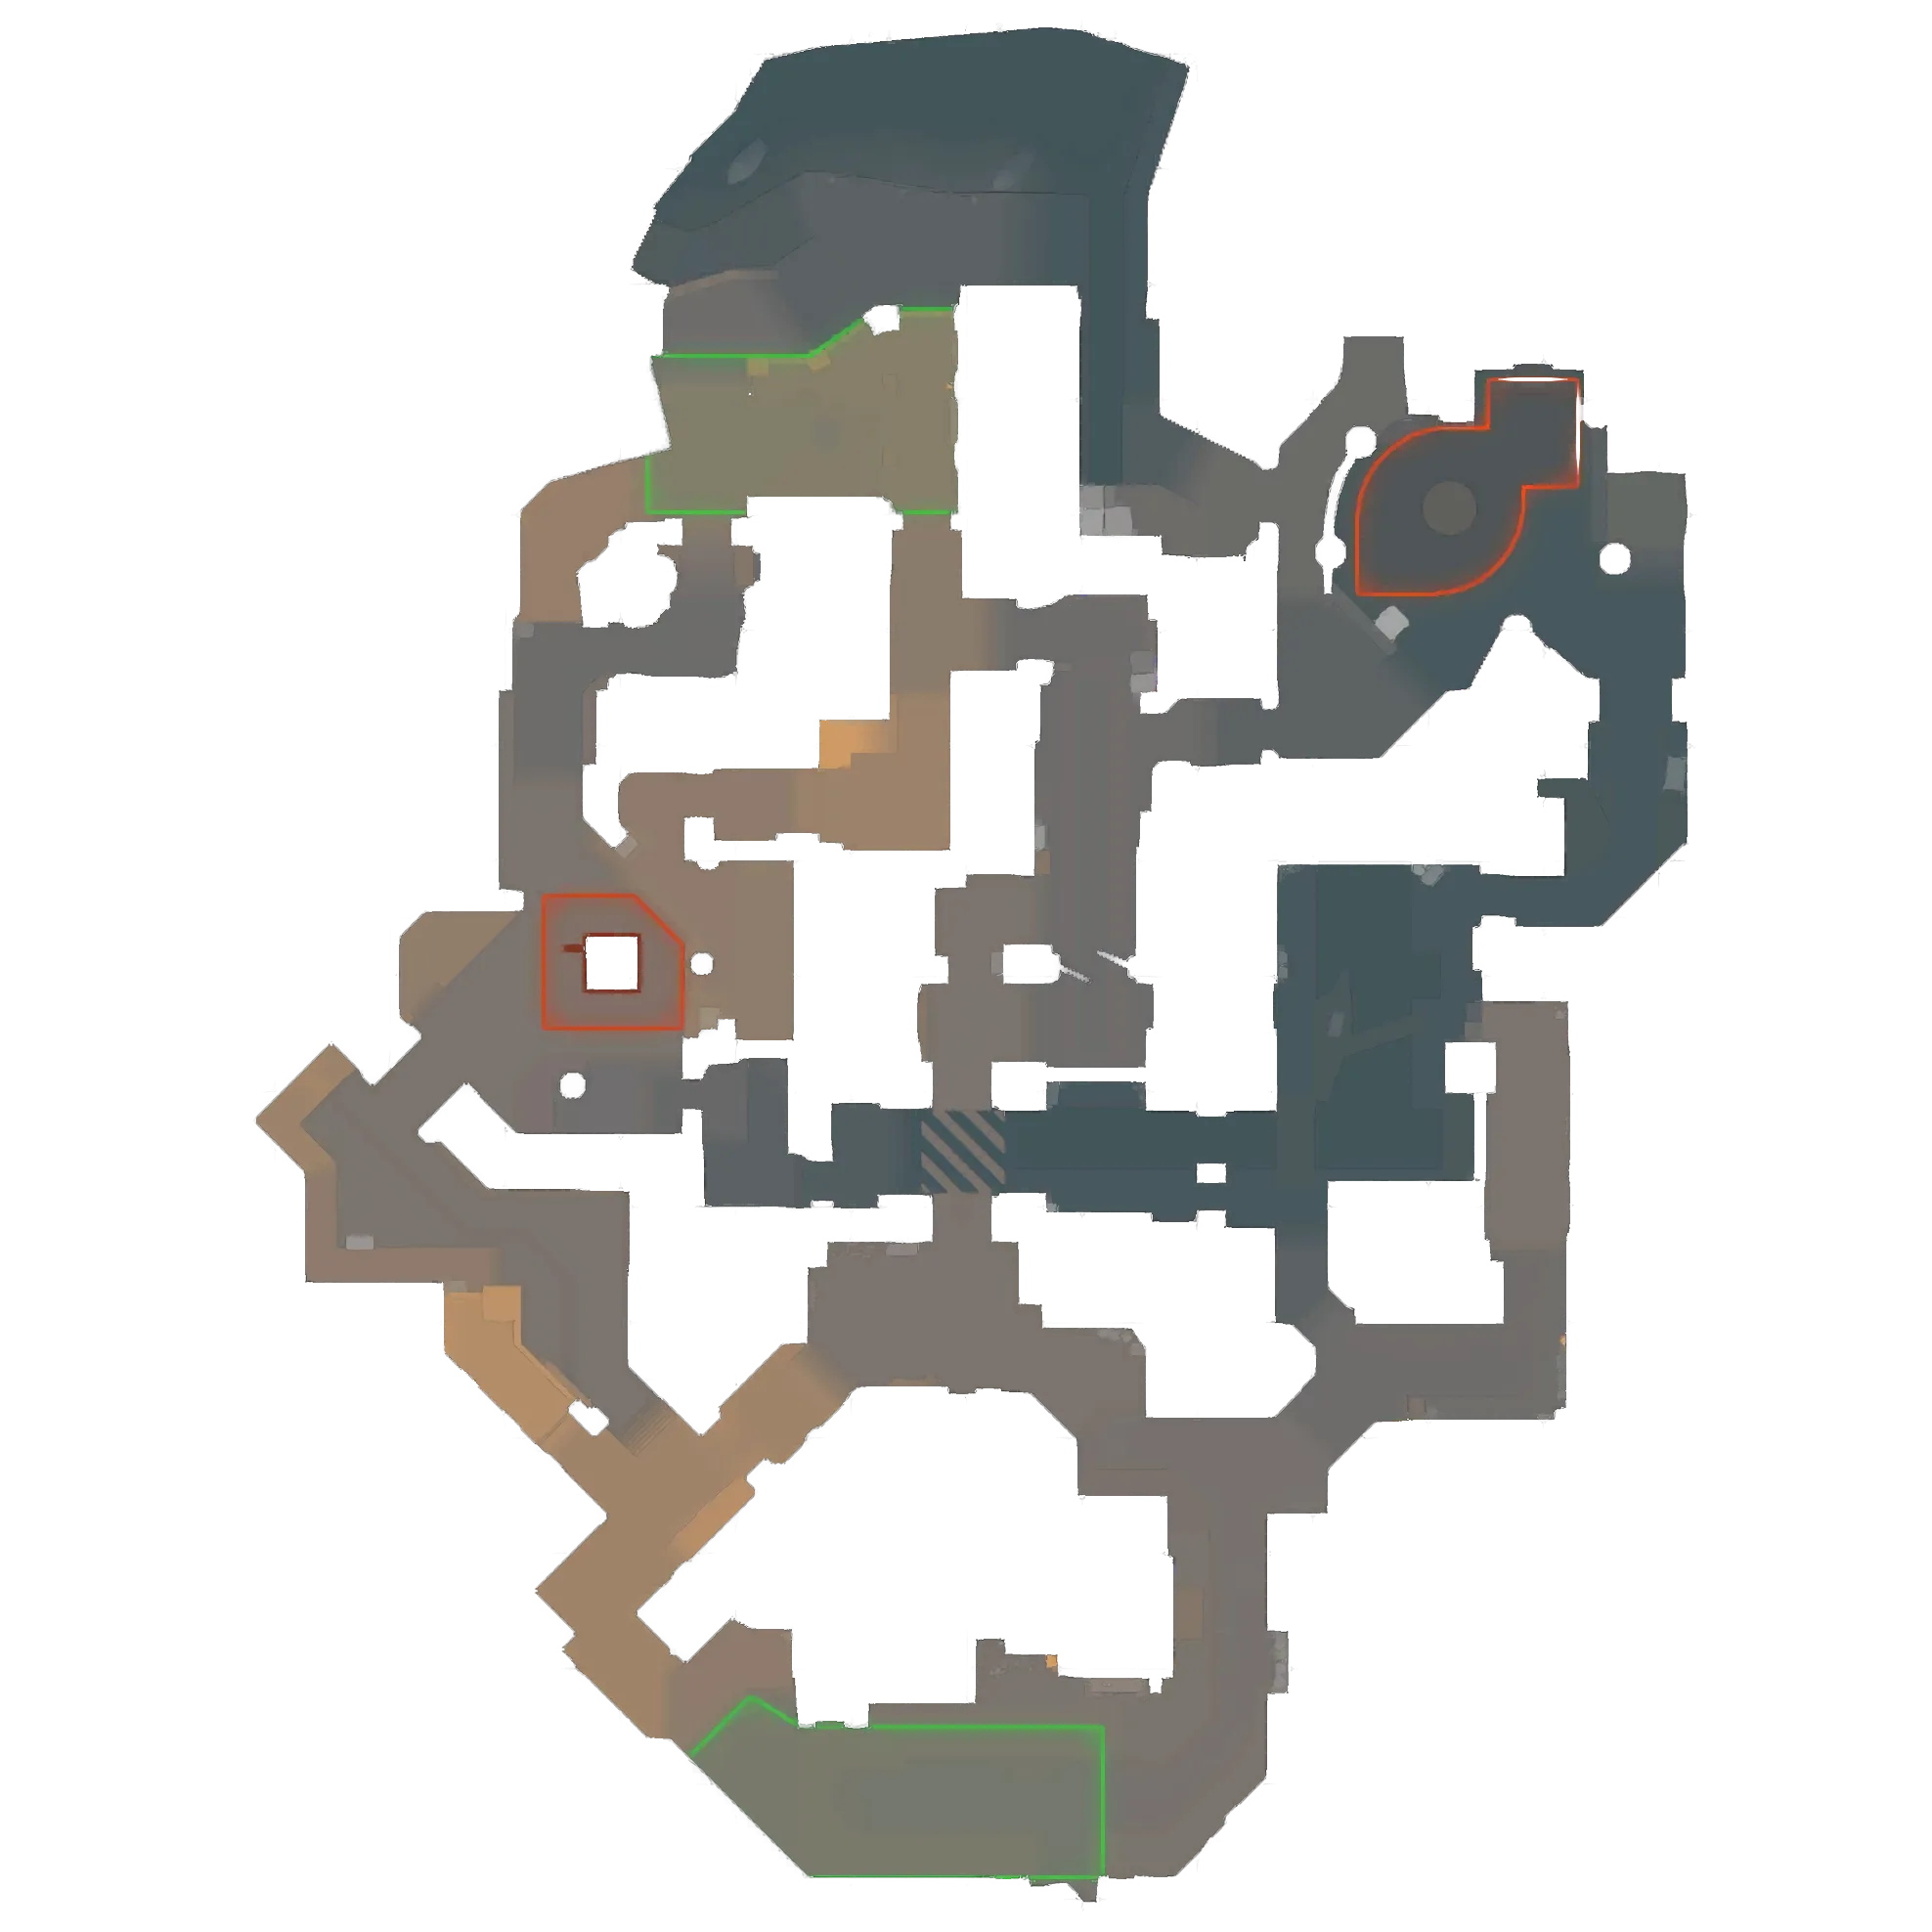
Anubis (de_anubis) is a bomb defusal map set along the waterways of an ancient Egyptian temple complex. Featuring tight corridors, underwater passages, and long sightlines through Mid and A Main, it challenges teams to balance aggressive pushes with precise coordination.

Anubis Overview
Anubis is a large, open map that emphasizes mid control, water pressure, and long rotations. Both bombsites are relatively open, making utility usage and coordinated map control essential. Due to its size, information gathering and early positioning play a major role in round outcomes.
This overview pairs best with learning the main callouts, understanding common CT and T setups, and practicing effective utility usage.
Characteristics
Balance
Generally balanced with slight T-side flexibility
Win Conditions
Mid control, water pressure, and utility usage
Map Control
Mid and Water are critical areas
Rotation Time
Long without early control
Key Areas
A Site
Wide site with multiple long-range angles
B Site
Compact site accessed through Canal and Mid
Mid
Central area connecting both bombsites
Water
Important route for B pressure and flanks
Canal
Primary approach into B Site
Temple
Connector area linking Mid to A Site
Anubis Main Callouts
Learn the most important Anubis callouts for A Site, Mid, and B Site to improve communication, rotations, and round execution.
A Site
- HeavenElevated platform overseeing A Site for defensive holds.
- HellCorner near A Site for defensive or offensive angles.
- BoxCover near A Site to control entry angles.
- CornerClose corner for peeks into A Site.
- PlatRaised platform for controlling A Site approaches.
- FountainWater feature near A Site providing cover and sightlines.
- PillarCover near A Site for controlling angles.
- Upper / RugsRaised area connecting T Spawn to Water.
- Temple / PalaceStructure near A Site for controlling entry angles.
B Site
- Outer BPrimary entrance to B Site from T side.
- PlatElevated position overlooking B Site for control.
- ObeliskCentral pillar on B Site providing cover.
- Back SiteCorner near the back of B Site for defensive plays.
- PillarCover on B Site for both defensive and offensive angles.
- HeadshotKey angle for peeks in Water.
- Connector / EboxLink between mid and B Site for rotations.
- StairsSteps providing access from mid to B Site.
- CameraObservation point for monitoring B Site approaches.
- B ConnConnector between mid and B Site for rotations.
Mid
- MidCentral area with a key rotation for T players into the map.
- BridgeOverpass connecting mid to T spawn.
- WindowOverlook in Mid for peeks.
- DoorEntry point to the deeper parts of Mid.
Other
- T SpawnStarting area for Terrorists to plan rotations or executes.
- RuinsOpen area providing cover for rotations toward B Site.
- CT LongPath leading from CT Spawn toward B Site.
- CaveCorner near CT Spawn providing cover for attackers.
- CT SpawnStarting area for CTs to rotate to either site.
- BeachBack of CT Spawn leading to A Site.
- TunnelIndoor path connecting CT Spawn to A Site.
- A MainPrimary approach toward A Site from mid-area.
- WaterShallow area near A Site providing cover.
- Pool / CanalsWater feature near mid controlling rotations.
- AlleySide path connecting T side to mid-area.
Anubis CT Strategy
Common Counter-Terrorist setups and positioning principles in Anubis to help you hold sites and win rounds.
2 A, 1 Mid, 2 B
A standard defensive setup with balanced coverage across both bombsites and a dedicated Mid player for early information.
Pros
- Even Coverage – Both bombsites have sufficient early-round defense.
- Mid Information – Early Mid presence helps identify T-side pressure.
Cons
- Water Pressure – B defenders can be overwhelmed if Water is lost early.
- Long Rotations – Late rotations are difficult without Mid control.
Water-Focused B Defense
CTs prioritize Water and Canal control to deny B Site access while leaving minimal presence on A early.
Pros
- Strong B Control – Water dominance limits T-side B executes.
- Early Information – Aggressive Water play reveals T intentions.
Cons
- A Site Vulnerable – Fast A hits can overwhelm limited defenders.
- Utility Heavy – Requires consistent utility usage to hold Water.
Mid-Heavy Setup
Two players contest Mid aggressively while others anchor bombsites, aiming to control rotations.
Pros
- Rotation Control – Mid control allows fast support to either site.
- Limits Splits – Prevents coordinated A or B splits.
Cons
- Site Pressure – Bombsites may be weaker early in the round.
- Punishable Aggression – Overextending in Mid can be punished.
Positioning & Rotations
Use long-range angles and utility to delay pushes. Crossfires from Site and Temple are effective.
Canal and Water control are key. Utility can delay pushes long enough for rotations.
Critical for information and rotations. Holding Mid denies effective splits.
High-risk, high-reward position that can decide B control.
Retakes require coordinated utility and clearing angles methodically. A retakes are difficult without Temple control.
Anubis T Strategy
Common Terrorist setups strategies for attacking Anubis sites and starting powerful pushes against defending players.
Mid Control → A Split
Ts prioritize Mid control before splitting into A through Temple and Main.
Pros
- Strong Split Pressure – Multiple entry angles stress A defenders.
- Rotation Denial – Mid control slows CT rotations.
Cons
- Utility Intensive – Requires smokes to block long sightlines.
- Timing Sensitive – Poor coordination weakens the split.
Water Control → B Execute
Ts take Water control before committing to a B Site hit through Canal.
Pros
- Forces CT Utility – Water pressure drains defensive resources.
- Clear Entry Path – Canal provides a direct route into B.
Cons
- Choke Point Risk – Canal can be heavily defended with utility.
- Predictable Commitment – Extended Water presence can reveal intentions.
Fast A Site Execute
A quick hit onto A designed to overwhelm defenders before rotations arrive.
Pros
- Pace Advantage – Speed can catch CTs off guard.
- Simple Execution – Direct entry paths reduce complexity.
Cons
- Utility Resistance – Well-timed molotovs can slow the execute.
- Difficult Post-Plant – Wide angles make holding the site challenging.
Positioning & Rotations
Central control point enabling effective splits.
Key area for B pressure and flanking options.
Important connector for A splits and post-plant control.
Anubis Utility Usage
Key smoke and molotov grenade lineup spots on Anubis to control vision, block angles, and support your team.
A Heaven Smoke
SmokeBlocks elevated positions on A site, essential for a coordinated site execute.
Connector Smoke
SmokePrevents defenders from peeking Connector, easing A site pushes.
B Heaven Smoke
SmokeCritical for B site takes, denying CT vision from above.
Back Site Molotov
MolotovForces defenders out of deep B positions, improving site entry and post-plant control.