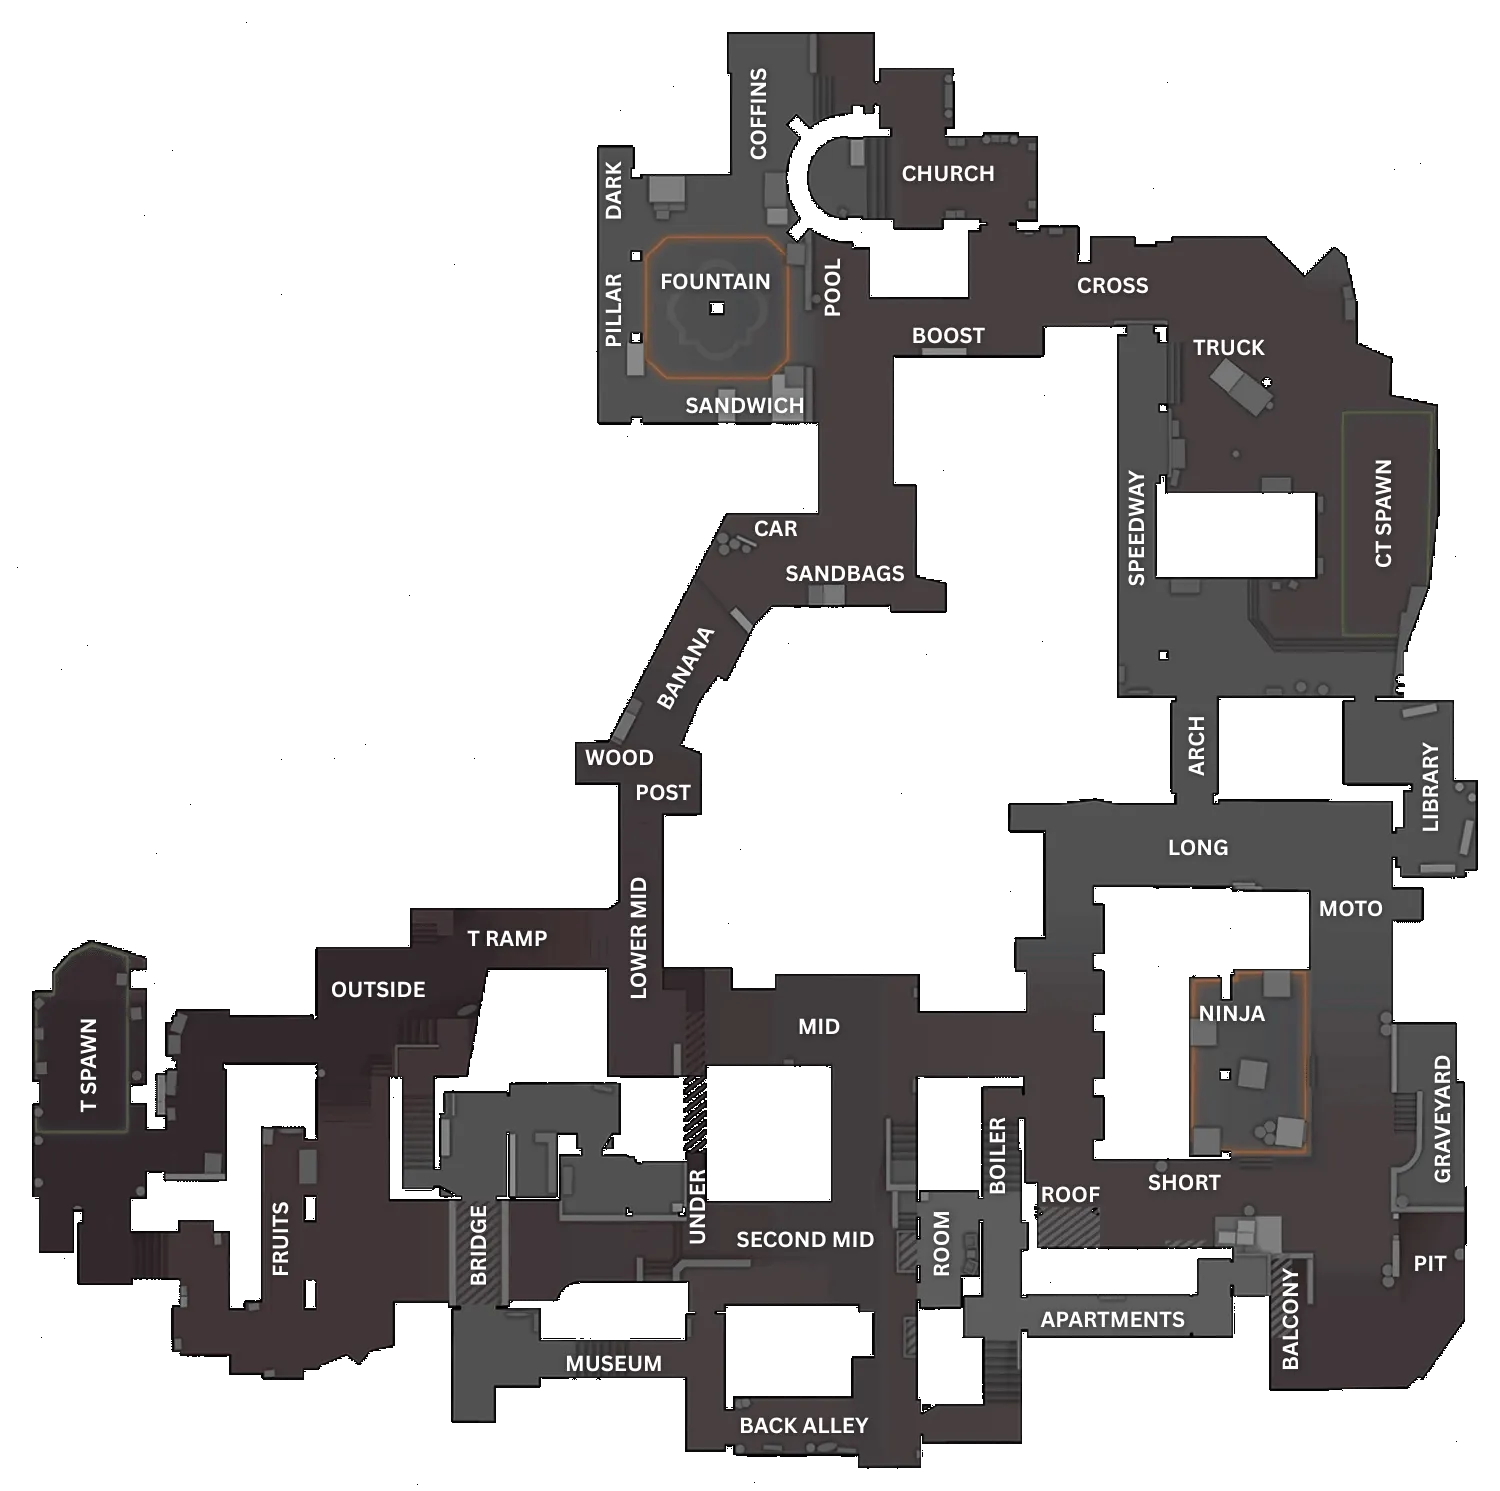
Inferno Callouts

Inferno (de_inferno) is a classic Counter-Strike map designed for the bomb defusal game mode. Set in a picturesque Italian town with narrow alleyways, tight chokepoints, and iconic sites like Banana and Mid, the map offers intense tactical gameplay for both Terrorists and Counter-Terrorists.

Italy
Bomb Defusal
Inferno view 1

Inferno Overview

Inferno is a utility-heavy map built around narrow choke points and tight bombsite entrances. Success on Inferno depends on coordinated grenade usage, map control through Banana and Mid, and strong post-plant setups. Rotations are relatively quick, but poor utility management can quickly collapse a defense.

This overview pairs best with learning the main callouts, understanding common CT and T setups, and practicing effective utility usage.

Characteristics

  • Balance

    Generally balanced with a slight CT advantage

  • Win Conditions

    Effective utility usage and strong team coordination

  • Map Control

    Banana and Mid control are critical

  • Rotation Time

    Fast between sites when control is maintained

Key Areas

  • A Site

    Tight bombsite with multiple defensive angles

  • B Site

    Small site accessed primarily through Banana

  • Mid

    Controls access to Short and Apartments

  • Banana

    Key choke point leading to B Site

  • Apartments

    Primary route for A Site pressure

  • CT Spawn

    Central rotation point between bombsites

Inferno Main Callouts

Learn the most important Inferno callouts for A Site, Mid, and B Site to improve communication, rotations, and round execution.

A Site

  • Long Corner / CubbyCover point near A Long for peeks.
  • MotoCorner for cover near A Site.
  • Back SitePrimary bomb site for A Site plant.
  • Close LeftCorner for holding A Site or defending.
  • GraveyardOpen area for rotations or cover near A Site.
  • PitLow cover position near A Site.
  • BalconyOverlooks A Site for defensive or offensive plays.
  • TruckCover point for A Site or rotations.
  • A ShortPathway from Mid to A Site.
  • PatioCorner near A Site used for rotations or cover.
  • StairsUsed for rotations between Mid and A Site.

B Site

  • BananaMain pathway from T side to B Site.
  • Half WallLow wall providing cover and angles on Banana.
  • CarCover for holding Banana or B Site pushes.
  • SandbagsProvides cover for CTs or Ts near B Site.
  • 1stFirst defensive position in B Site.
  • 2ndSecond defensive angle in B Site.
  • QuadBoxes giving cover and sight control in B Site.
  • DarkShadowed corner for close-range fights.
  • FountainCentral B Site feature for cover and rotations.
  • CoffinsCorner boxes for cover near B Site.
  • SandbagsProvides cover for CTs near B Site.

Mid

  • Top MidOverlooks Mid, controlling map flow.
  • WindowOverlooks Mid and B Site approaches.
  • 2nd MidSecondary Mid position controlling rotations.
  • MidCentral rotation point connecting both sites.
  • Bottom MidLower Mid position for rotations and peeks.
  • Under / MexicoTactical pathway connecting the two Mids.
  • BalconyHigh-ground position overlooking Mid.
  • Living Room / KitchenConnects T apartments to Mid.
  • BridgePath connecting T side to Mid.

Other

  • T SpawnStarting point for Terrorists to rotate or execute strategies.
  • LedgeSmall elevated area providing cover for pushes.
  • T RampSlope leading into Banana for Terrorist pushes.
  • LogsCover near Banana for mid-range engagements.
  • GardenOpen area outside B Site for rotations.
  • Church / ConstructionRaised area giving sightlines into B Site.
  • CTCT-controlled area near B Site for defense.
  • BoostJump-up spot for peeking or aggressive pushes.
  • TreeSmall cover for mid-range fights near B Site.
  • BenchProvides cover for fights near B Site.
  • Truck / WellCover point near CT Spawn for rotations.
  • SpeedwayLong pathway connecting Mid to B Site.
  • CT SpawnCT spawn point for rotations and defense.
  • ArchConnector from CT to A Site.
  • KitchenRotation point between CT and A Site.
  • LibraryCorner near A Long for cover.
  • A LongMain approach from T side to A Site.
  • BoilerCT-controlled area near Mid for peeks.
  • Long HallCovered path for rotating to A Site.
  • Back AlleySide path for rotations or flanking.
  • T AptsStarting area for Terrorists to rotate.

Inferno CT Strategy

Common Counter-Terrorist setups and positioning principles in Inferno to help you hold sites and win rounds.

2 A, 1 Mid, 2 B

Two players defend A Site, one controls Mid, and two contest Banana. This setup allows CTs to apply early pressure on Banana while maintaining solid coverage across the map.

Pros

  • Strong Banana Presence Two players can contest Banana with utility and delay B executes.
  • Balanced Site Coverage Both bombsites have enough players to delay initial pushes.

Cons

  • Utility Dependent Requires consistent grenade usage to maintain control.
  • Mid Isolation Risk The Mid player can be pressured if left unsupported.

3 A Control, 2 B

Three players focus on holding A Site and Apartments while two anchor B. This setup prioritizes denying A executes and playing retakes on B if needed.

Pros

  • Strong A Defense Multiple defenders make A Site difficult to break.
  • Flexible Rotations Players can quickly rotate through Arch or Library.

Cons

  • Banana Pressure Two players may struggle to hold Banana against heavy utility.
  • Utility Drain Early Banana fights can exhaust grenades quickly.

Aggressive Banana Control

CTs use early molotovs and flashes to take Banana control and push Ts back, limiting B Site options.

Pros

  • B Site Security Deep Banana control makes B executes harder to execute.
  • Early Information Aggression quickly reveals T-side intentions.

Cons

  • High Risk Losing early Banana fights can open the map for Ts.
  • Utility Heavy Requires precise and repeated grenade usage.

Positioning & Rotations

A Site

Hold crossfires between Site, Pit, and Short. Use utility to delay Apartments pushes.

B Site

Molotovs and smokes are essential to control Banana and delay executes.

Mid

Control Short access and support rotations through Arch.

Banana

Early control is key. Use utility to prevent Ts from gaining space.

Retakes

Retakes rely heavily on flashes and coordinated pushes. B Site retakes are generally more manageable than A.

Inferno T Strategy

Common Terrorist setups strategies for attacking Inferno sites and starting powerful pushes against defending players.

A Site Utility Execute

A coordinated execute using smokes and molotovs to clear common A Site positions and isolate defenders.

Pros

  • Clears Strong Angles Utility removes defenders from Pit, Site, and Short.
  • Strong Post-Plant Apartments and Short provide solid post-plant positions.

Cons

  • High Utility Cost Requires multiple grenades to execute effectively.
  • Timing Sensitive Poor coordination can leave gaps in the execute.

B Site Banana Execute

Ts slowly take Banana control before executing onto B with layered utility.

Pros

  • Structured Entry Utility forces CTs out of common anchor positions.
  • Clear Win Condition Successful Banana control heavily favors the attack.

Cons

  • Utility Heavy Repeated grenades are required to maintain control.
  • Predictable Overuse can allow CTs to stack B Site.

Mid Control → A Split

Ts take Mid control before splitting into A through Short and Apartments.

Pros

  • Forces Rotations Mid pressure pulls defenders away from bombsites.
  • Multiple Entry Points Splits make crossfires harder to maintain.

Cons

  • Execution Complexity Requires strong timing between groups.
  • Mid Contest CT utility can heavily delay Mid control.

Positioning & Rotations

Apartments

Primary staging area for A Site pressure and post-plant control.

Banana

Critical route for B Site executes and utility exchanges.

Top Mid

Supports rotations and enables A splits.

Inferno Utility Usage

Key smoke and molotov grenade lineup spots on Inferno to control vision, block angles, and support your team.

Pit Smoke

Smoke

Blocks the A anchor from Pit, providing Ts a safer site execute.

Library Smoke

Smoke

Clears the Library area, preventing defenders from holding key angles.

CT Coffins Smoke

Smoke

Blocks defensive angles on Banana, essential for a B site take.

Banana Logs Molotov

Molotov

Delays CT control over Banana and softens defensive positions.

B Backsite Molotov

Molotov

Forces defenders out of back site positions, making entry and post-plant control safer.